🛠️ Professional Laptop Repair Tools
ESSENTIAL
Precision Screwdriver Set
• Phillips head (various sizes)
• Torx T5, T6, T8 screwdrivers
• Spudger tools for prying
• Magnetic tip design
Perfect for all laptops
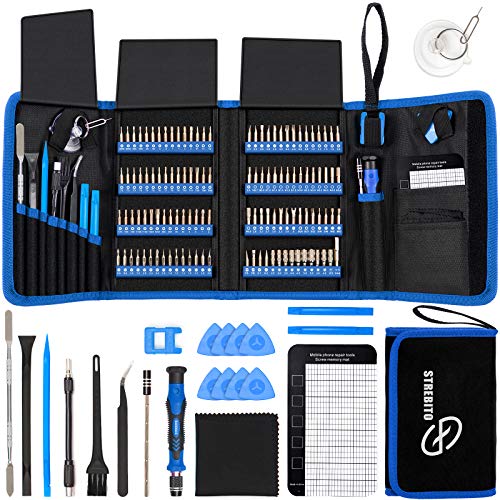
$27.99 on Amazon
WORKSPACE
Anti-Static Workspace
• Anti-static wrist strap
• ESD-safe work mat
• Magnetic screw bowl
• Proper lighting setup
Protect components
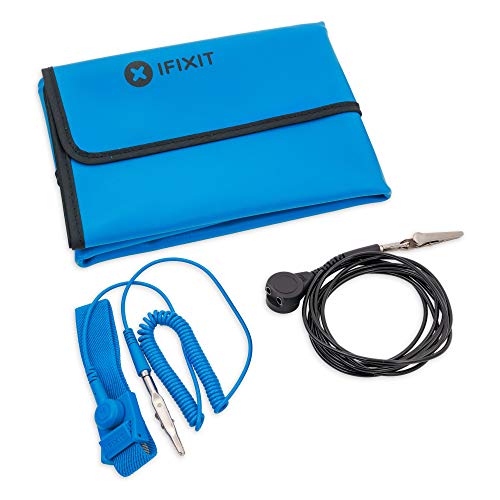
$34.95 on Amazon